Steps to be followed:
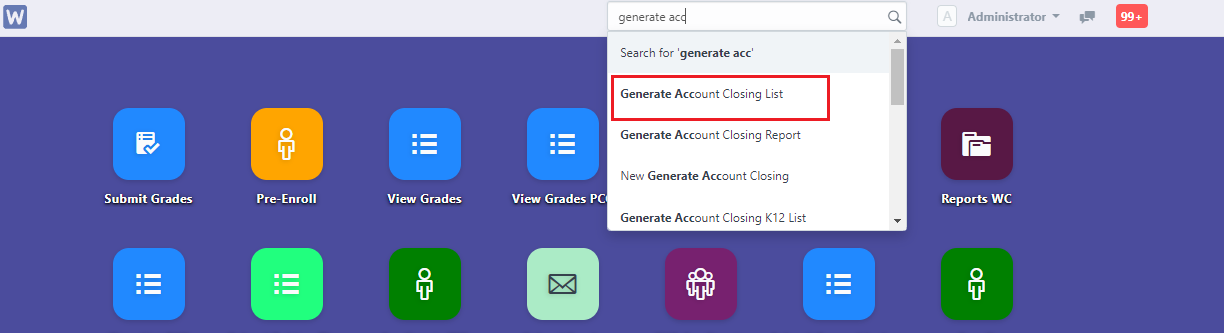
1. Search Generate Account Closing on the search bar.
![](https://pccdoc.wela.ph/content/images/2022/02/step-1-29.png)
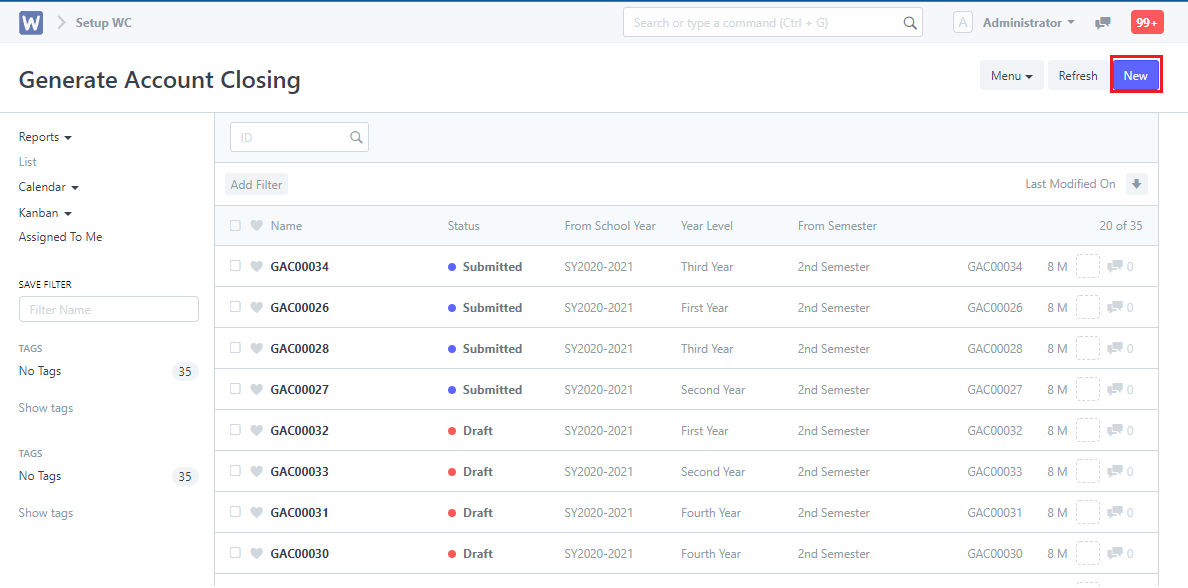
2. Create an entry by clicking the New button.
![](https://pccdoc.wela.ph/content/images/2022/02/step-1-30.png)
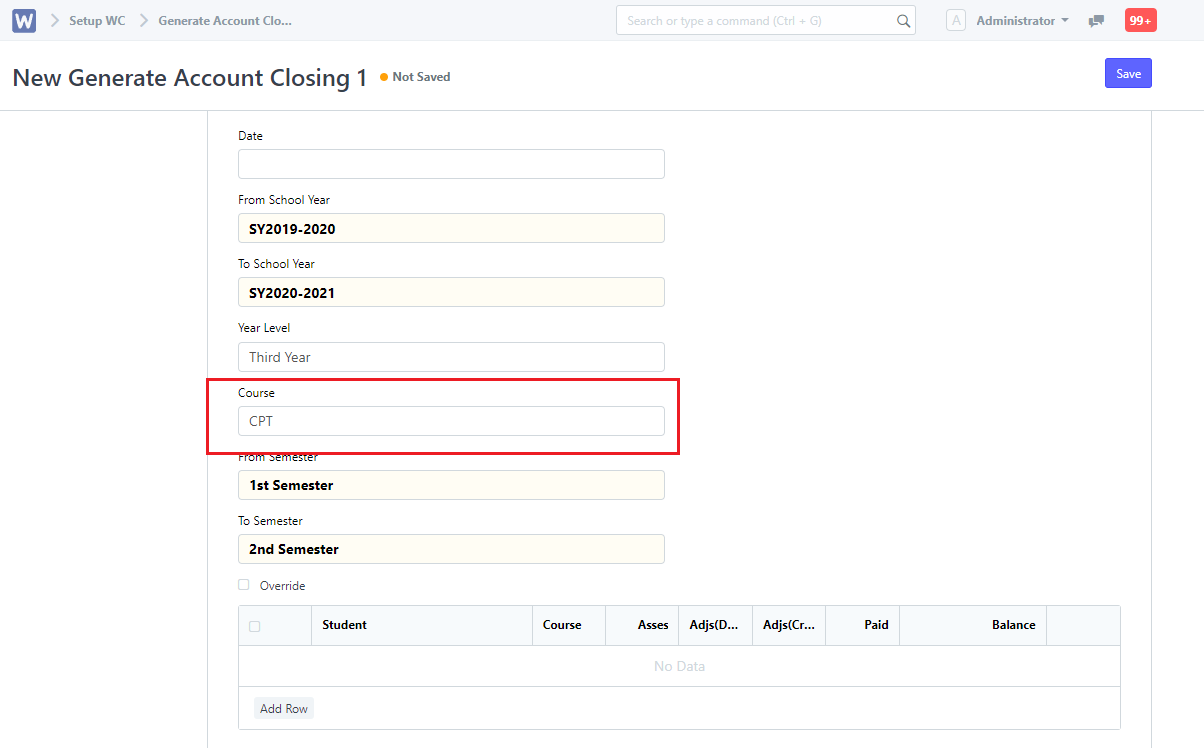
3. Fill up mandatory fields.
![](https://pccdoc.wela.ph/content/images/2022/02/image-29.png)
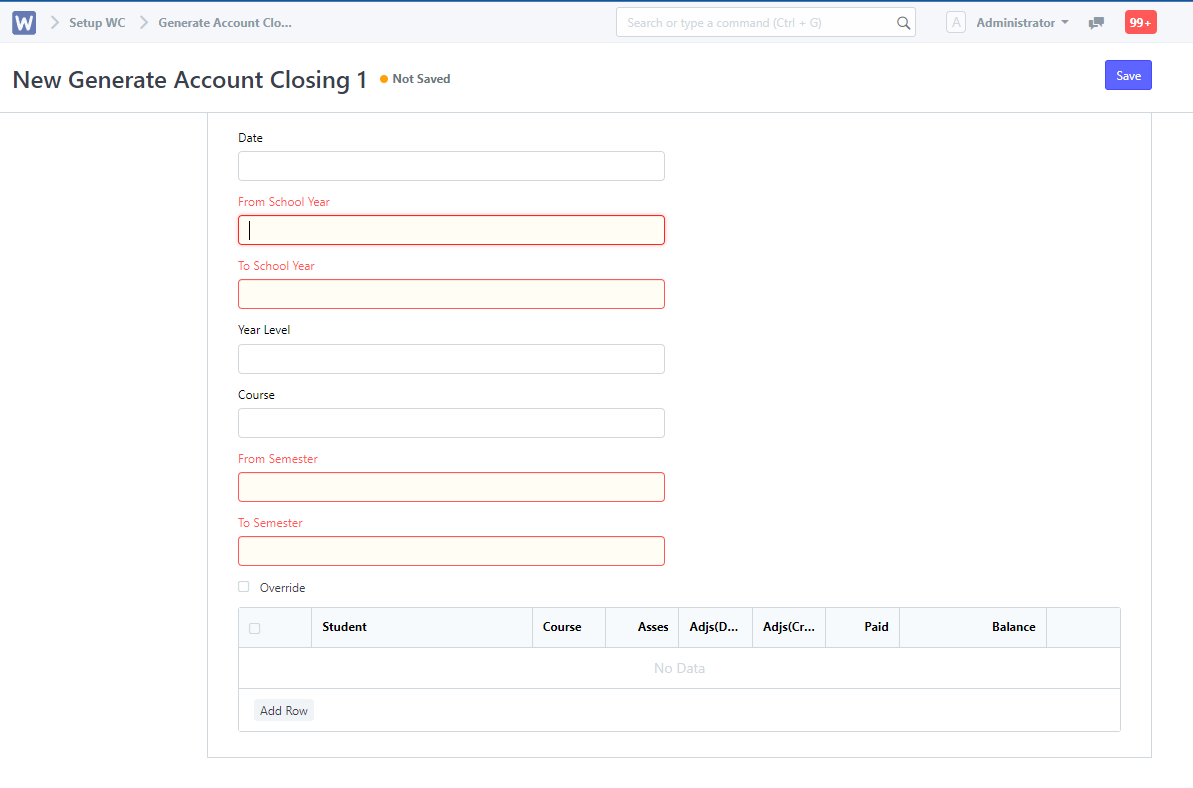
4. Input Course (student’s course)
![](https://pccdoc.wela.ph/content/images/2022/02/step-1-31.png)
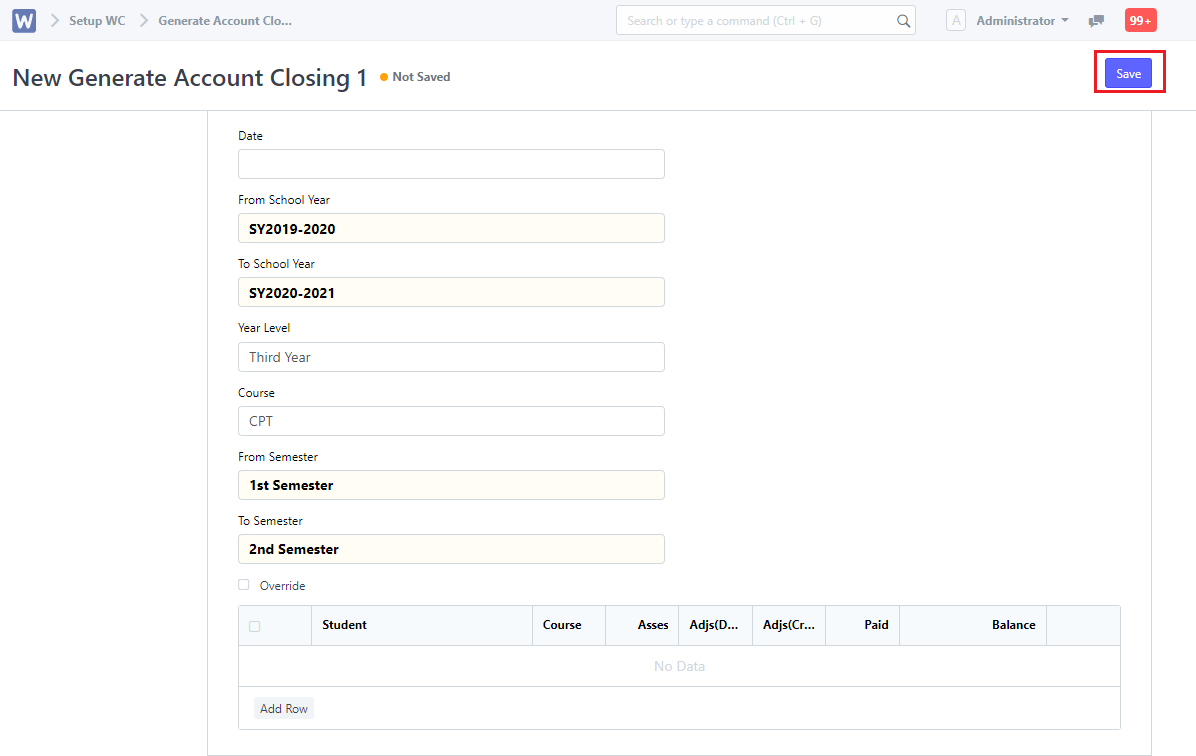
5. Click the Save button.
![](https://pccdoc.wela.ph/content/images/2022/02/step-1-32.png)
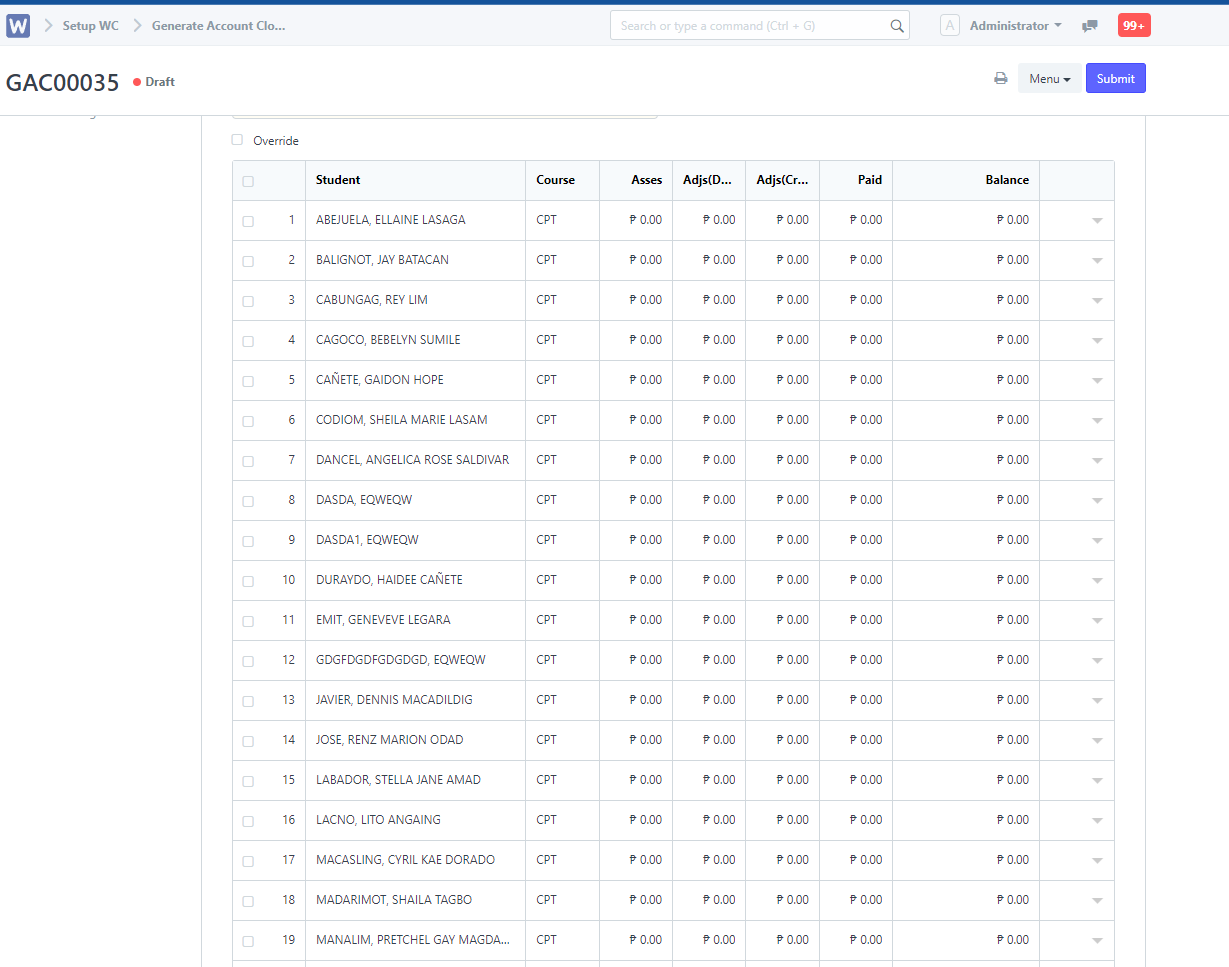
After clicking Save, a list of student’s names will be displayed.
![](https://pccdoc.wela.ph/content/images/2022/02/image-30.png)
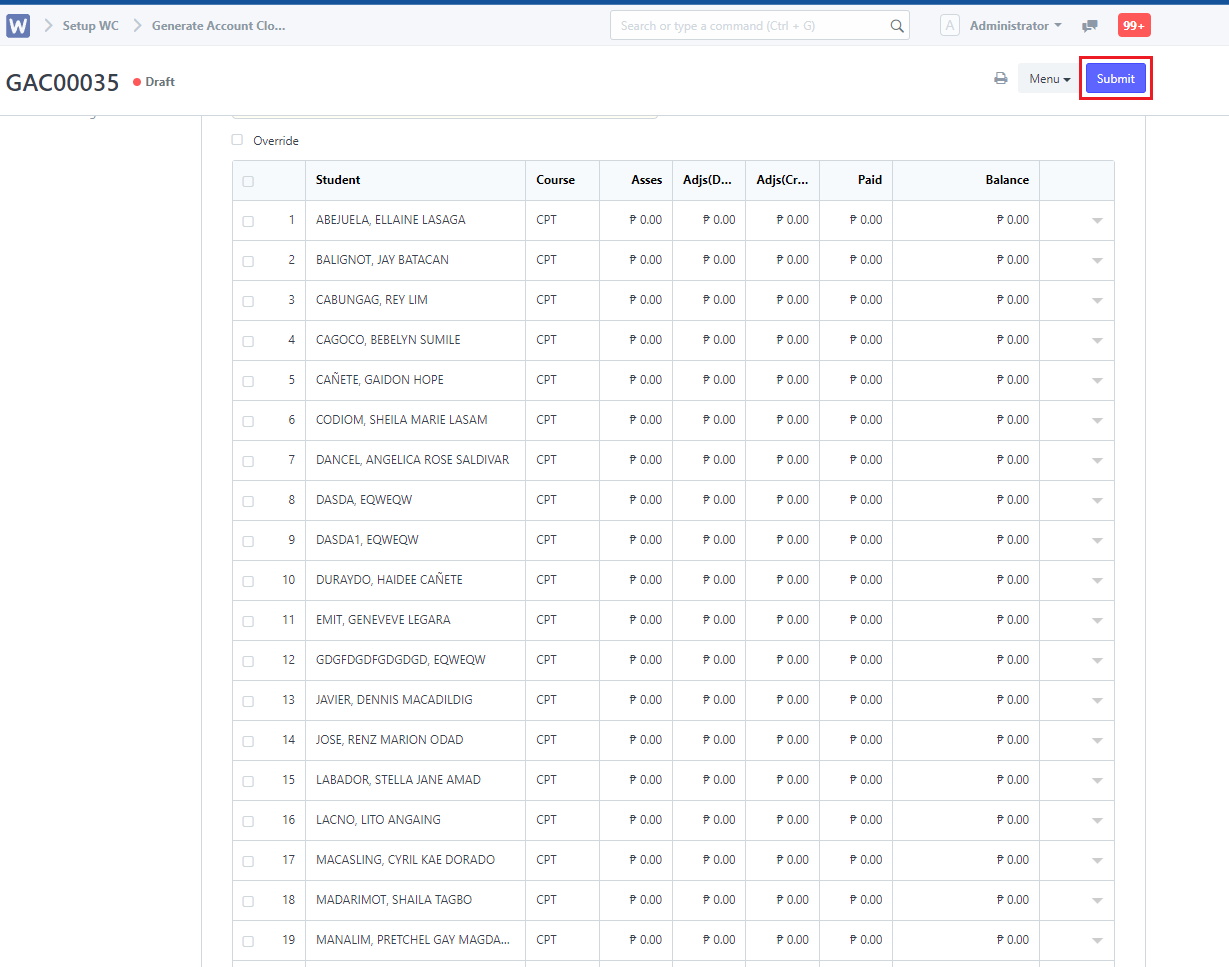
6. Click the Submit button.
![](https://pccdoc.wela.ph/content/images/2022/02/step-1-33.png)
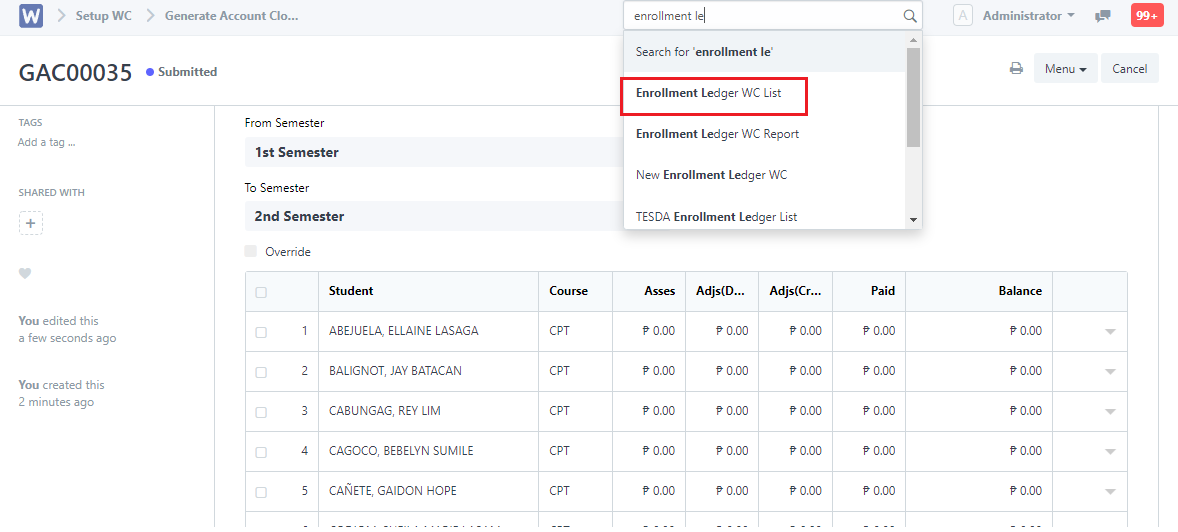
7. Once submitted, go to the student’s ledger by searching Enrollment Ledger WC on the search bar. Put the name of the student on the student field.
![](https://pccdoc.wela.ph/content/images/2022/02/step-1-35.png)
![](https://pccdoc.wela.ph/content/images/2022/04/image-1.png)
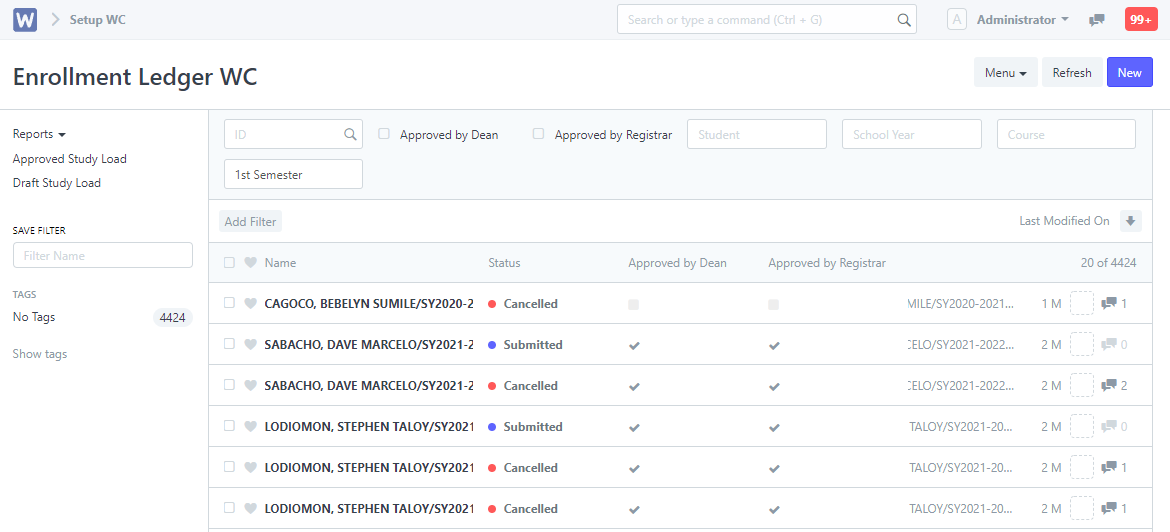
8. Click on the school year with the new updated balance.
![](https://pccdoc.wela.ph/content/images/2022/02/step-1-37.png)
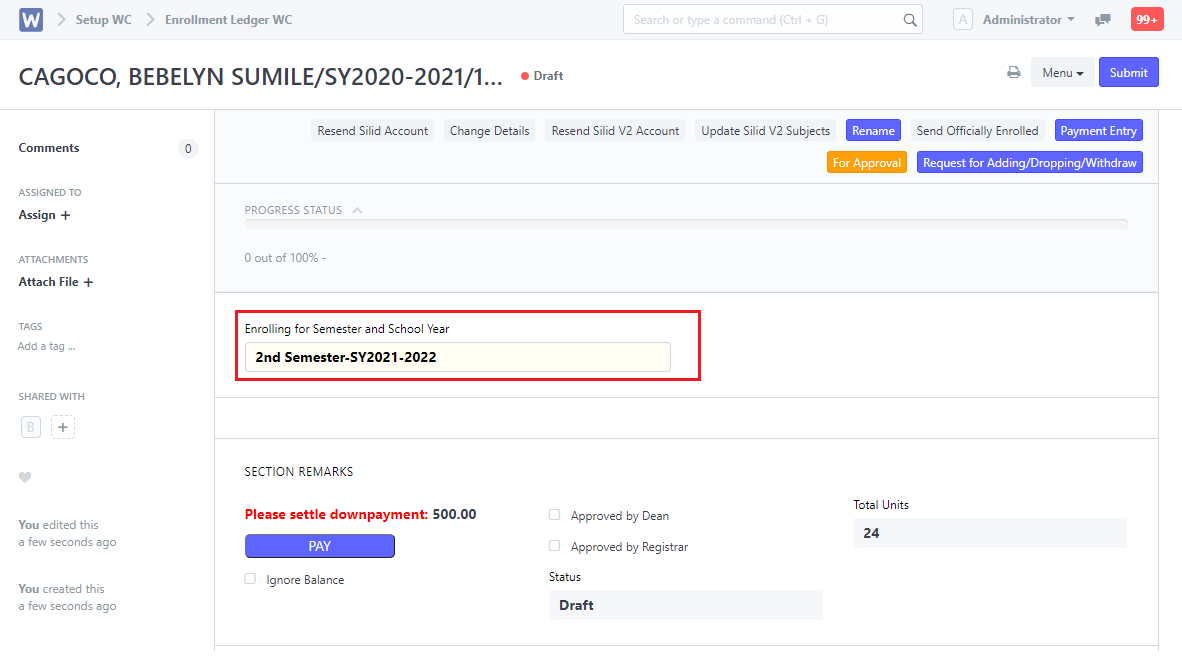
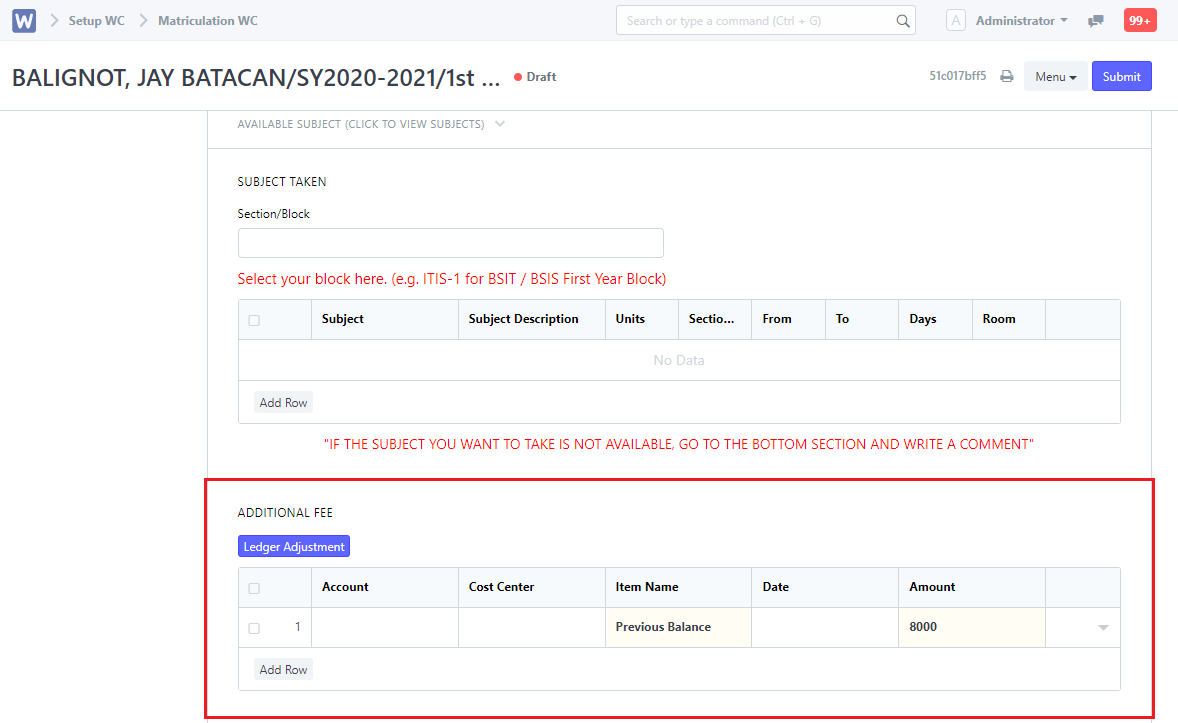
9. After redirecting to the page, scroll down and click on the View Matriculation button.
![](https://pccdoc.wela.ph/content/images/2022/04/step-1-2.png)
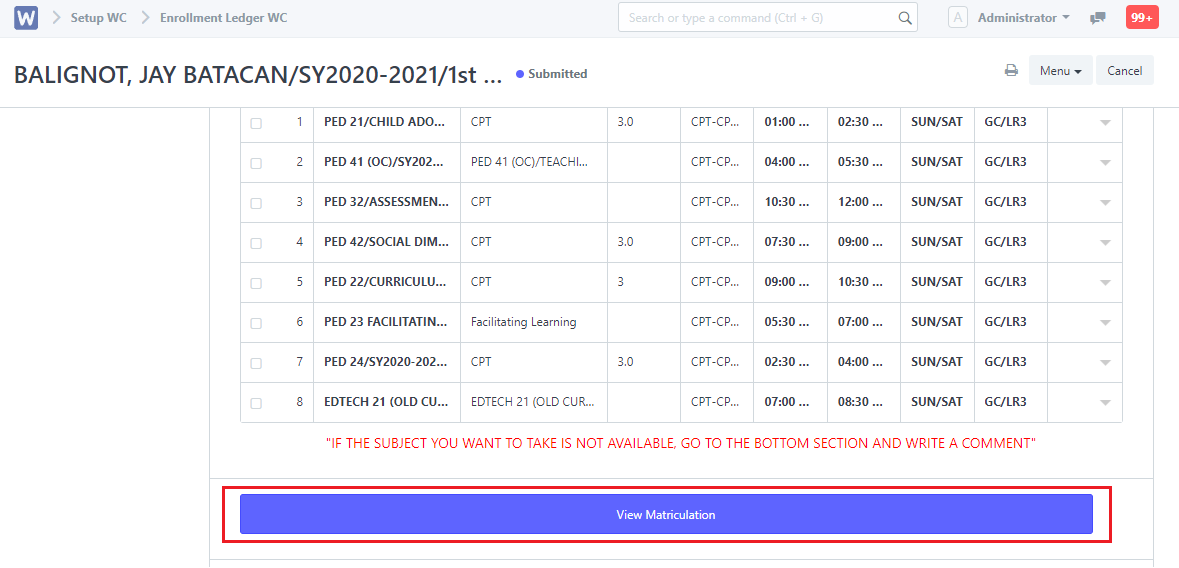
10. On the student’s matriculation, the previous balance will be added on the Additional Fee table.
![](https://pccdoc.wela.ph/content/images/2022/04/step-1-3.png)