Step 1. Parent/Student will go to pcc.wela.online and click on "Enroll K-12". Fill out the form and click "Save".

Step 2. Once the parent/student has accomplished filling out the form, Registrar will then log in to the school's Wela portal.
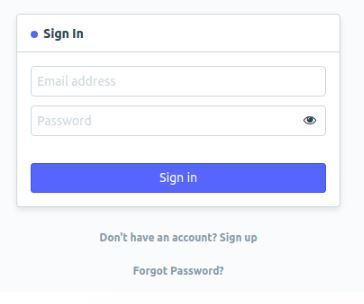
Step 3. After logging in, click the "Applicants" icon.

Step 4. Open an applicant entry. Evaluate the entry of the applicant by checking the uploaded requirements and information of the applicant.

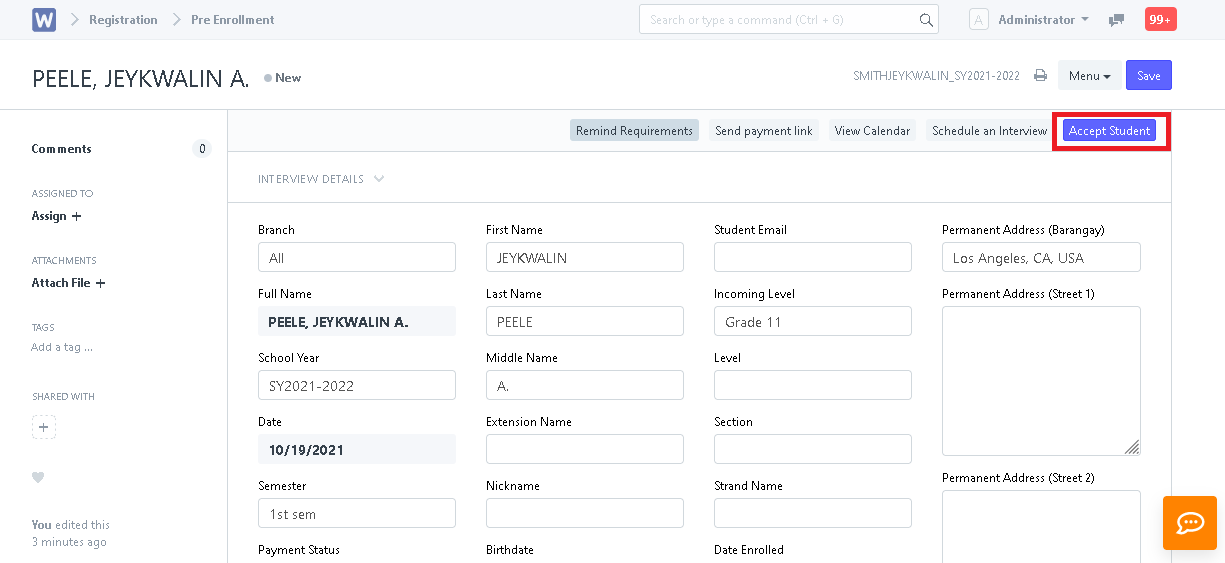
Step 5. After evaluating the applicant's entry. click "Accept".
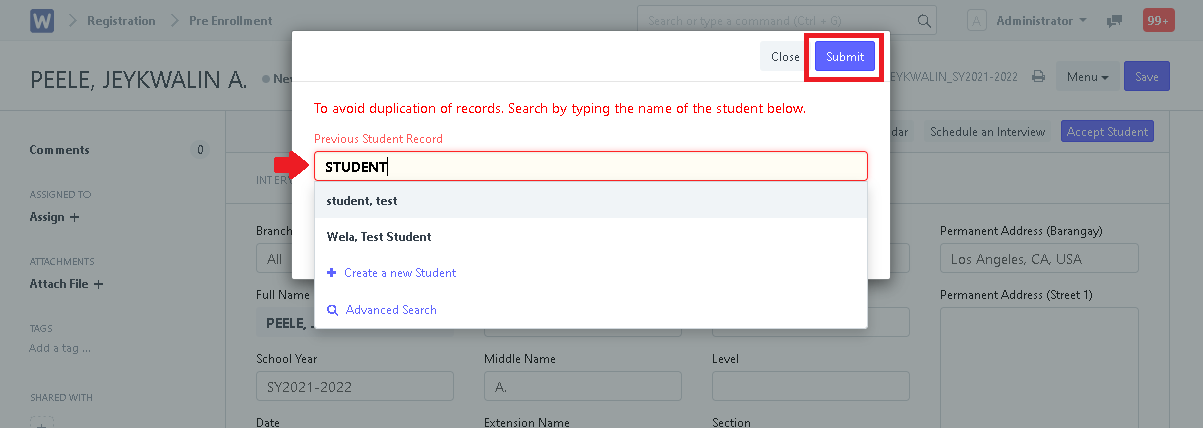
Step 6. System will prompt the User to check for the applicant's previous record.
- For Continuing Students
- For New Students

Will now have generated an enrollee entry of the student in Enrollees List. Student is now an enrollee of the school.
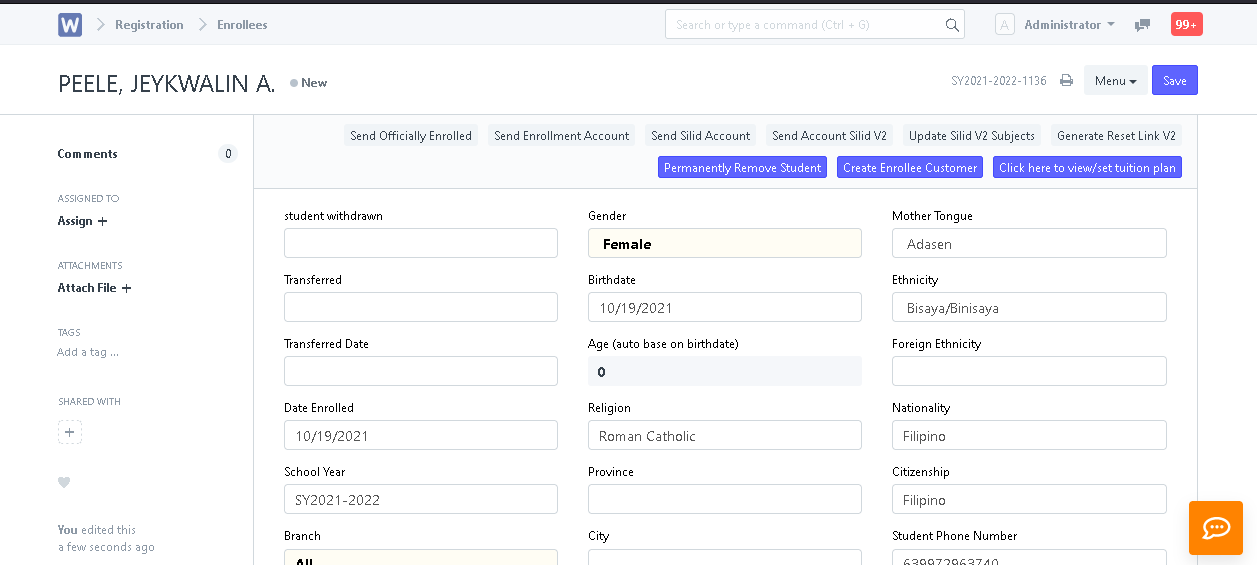
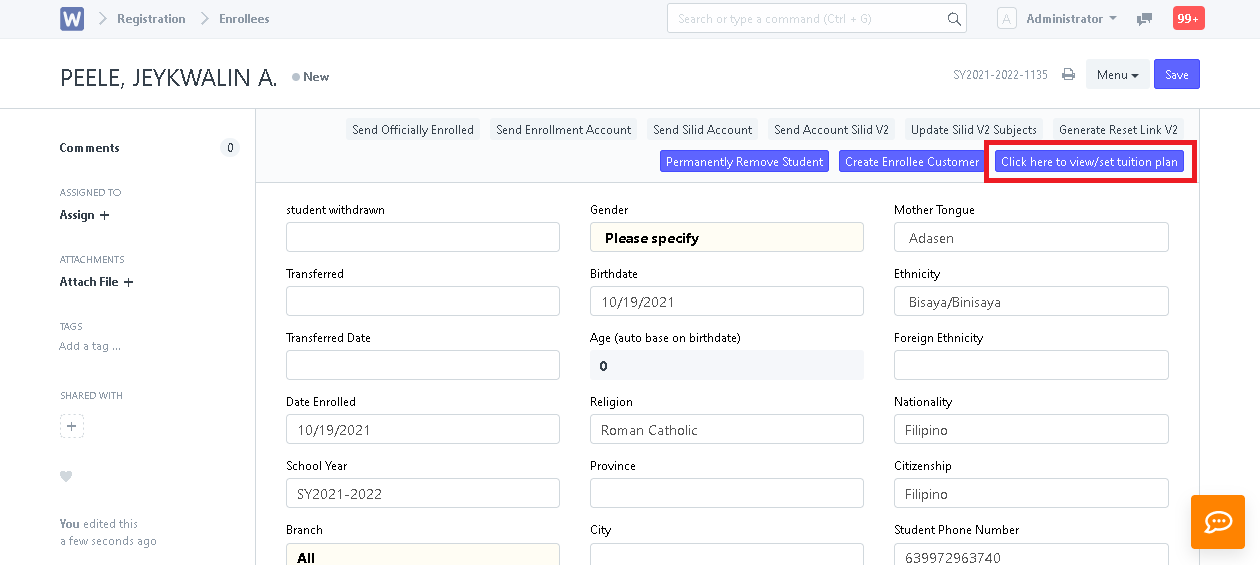
Step 7. User can now set a tuition plan for the student by clicking "Click here to view/set tuition plan". User will the be brought to Enrollee Customer to set the student's fees and tuition plan.
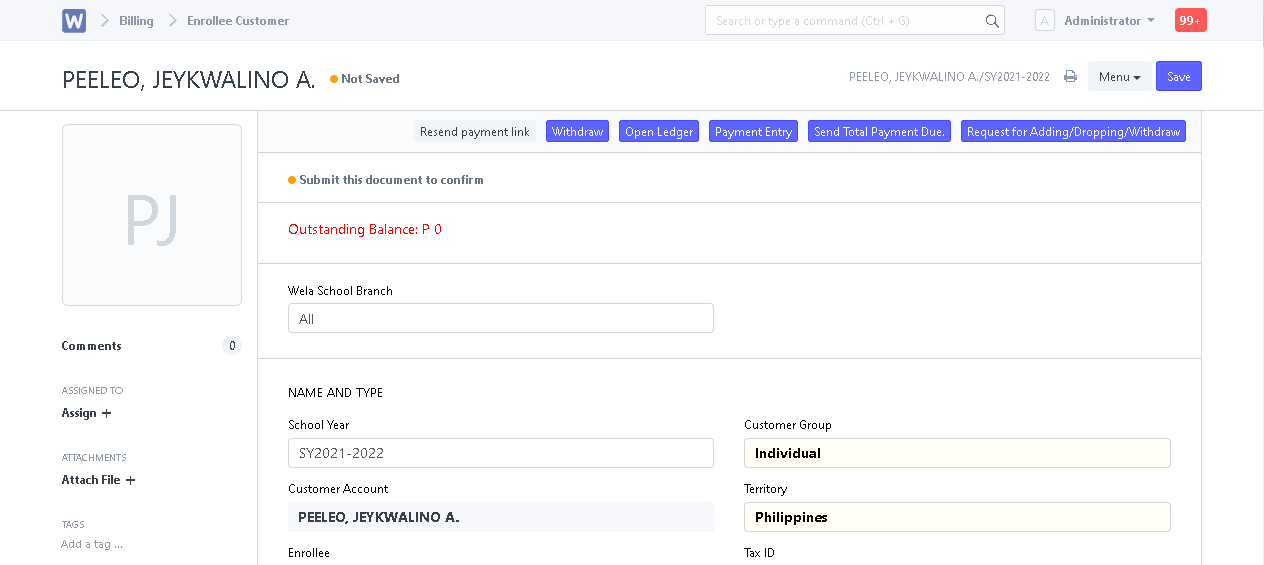
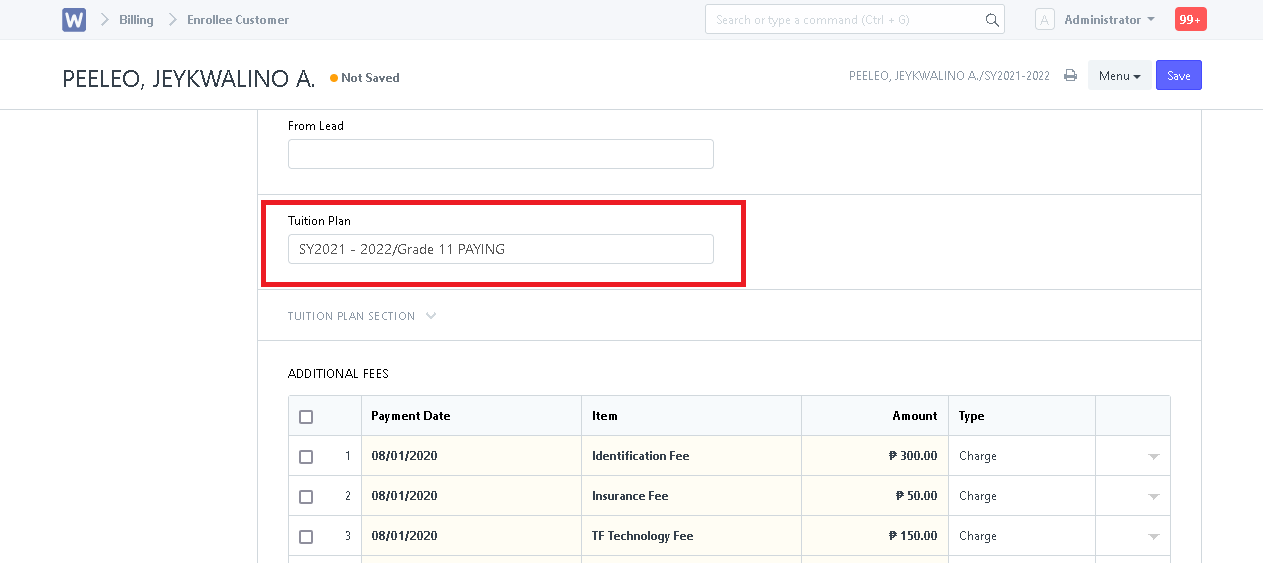
Scroll down and find the "Tuition Plan" field and set the student's tuition plan.
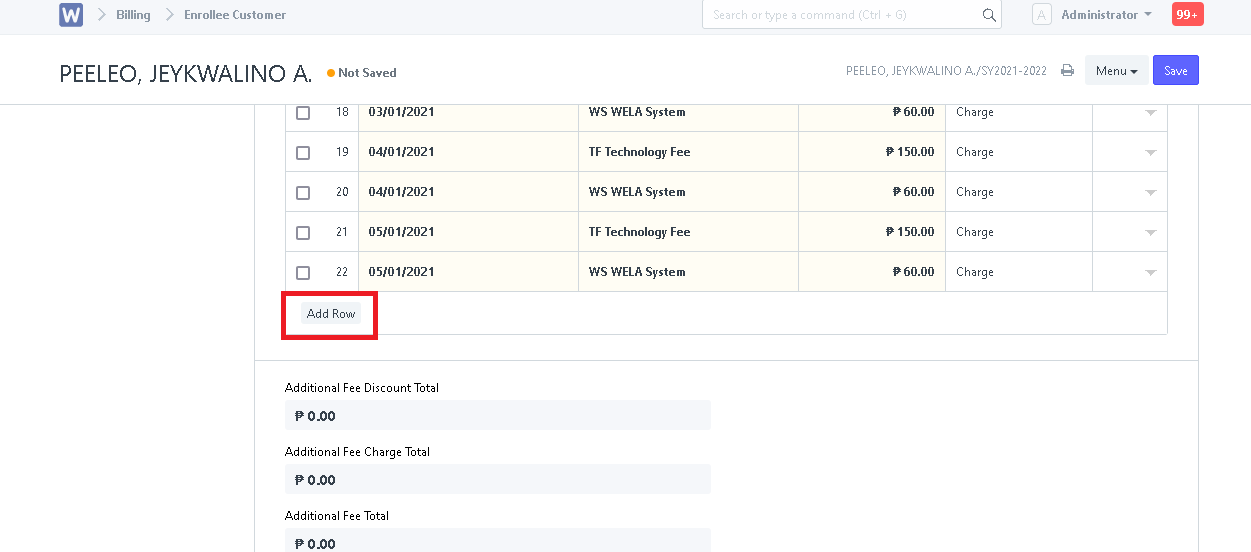
If student has additional fees to be included, click on "Add Row" located below the ADDITIONAL FEES table.
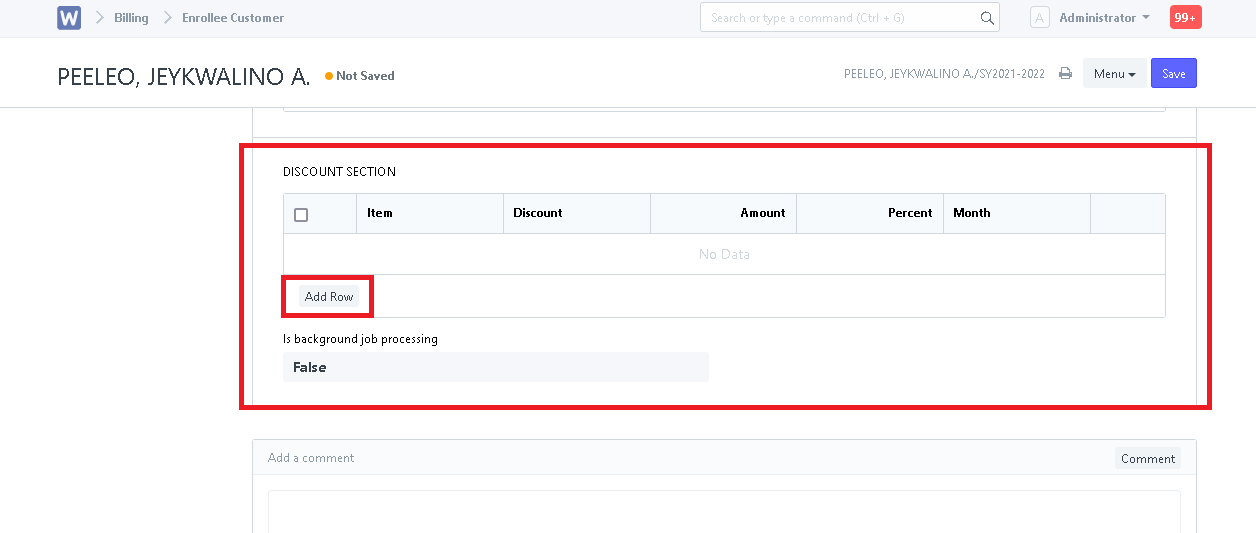
If has discounts to be included, scroll down to the bottom and locate DISCOUNT SECTION. Click "Add Row" and input the necessary details.
Step 8. After setting the necessary fees and checking the tuition plan, click "Save" to set the total assessment of the student.
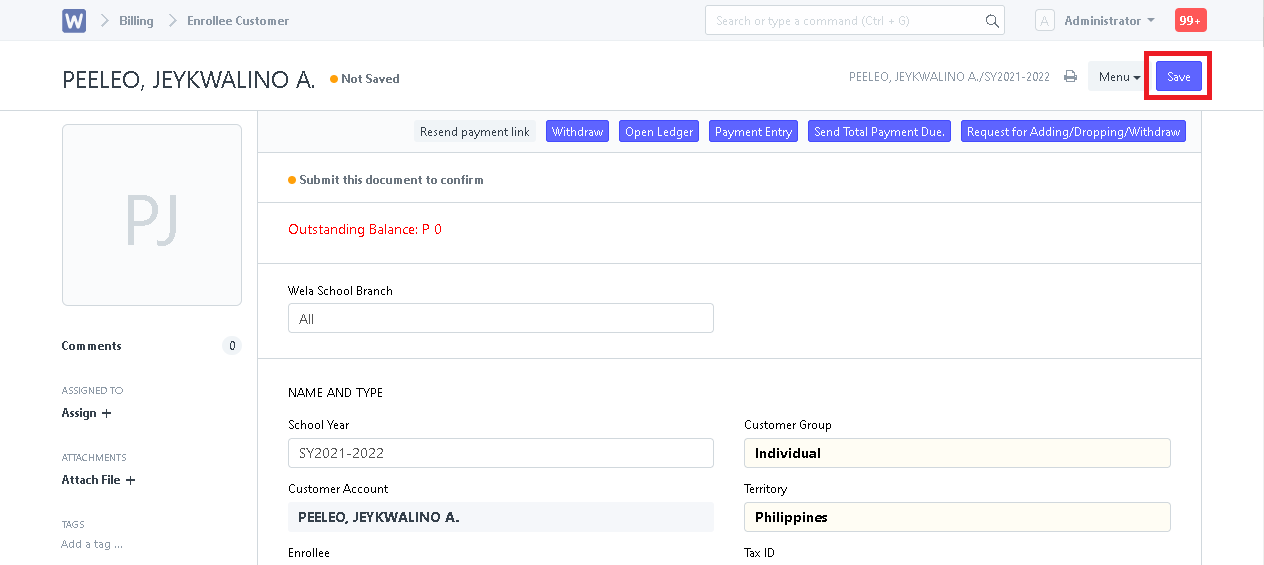
Step 9. After saving, click "Submit". System will then prompt user to confirm submission of entry. Click "Yes" to submit or "No" not submit. (Entry will stay drafted if No is chosen)


Step 10. System will ask if user would like to send payment link though text to parent. Click "Yes" to send or "No" to ignore send.

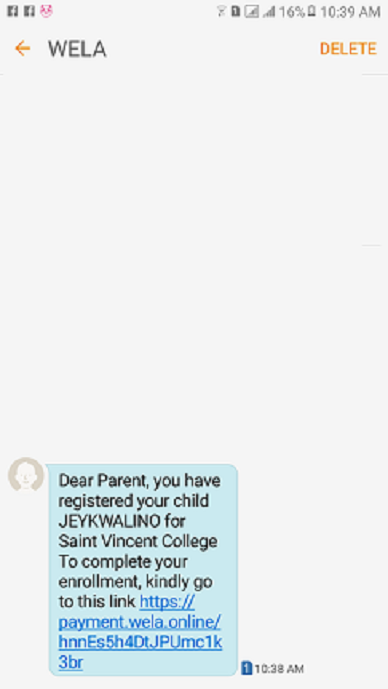
Student has now successfully been set a tuition plan and is now officially enrolled!
